
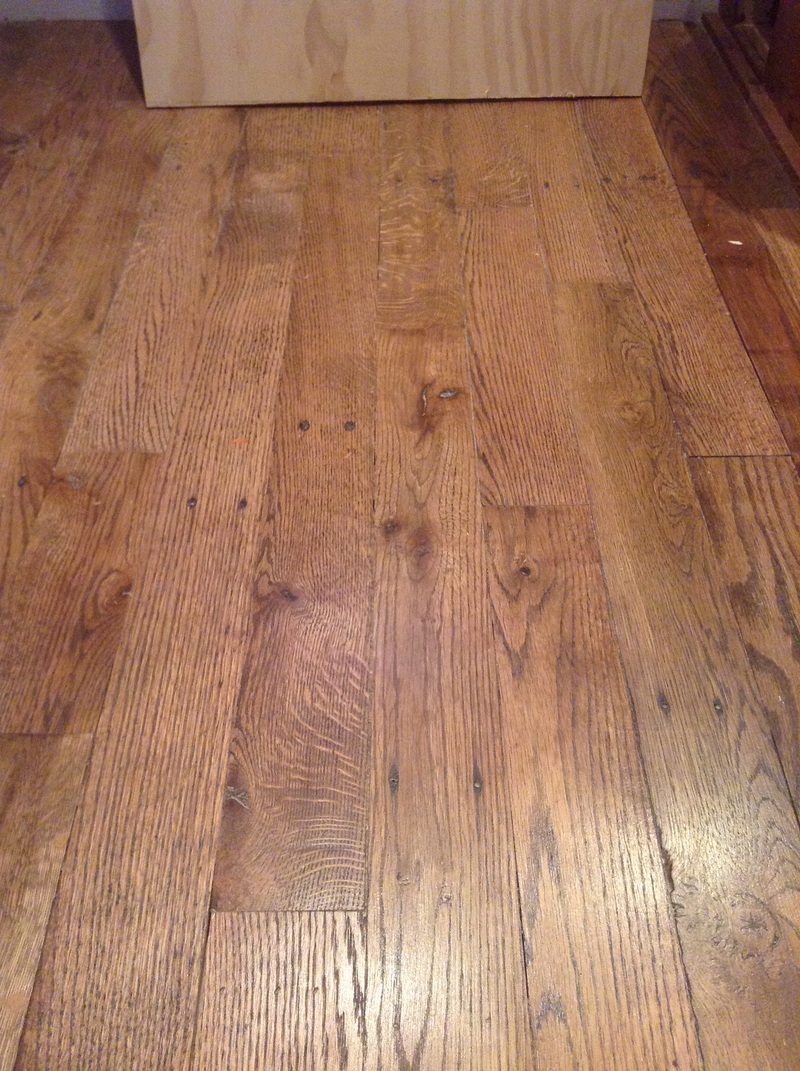
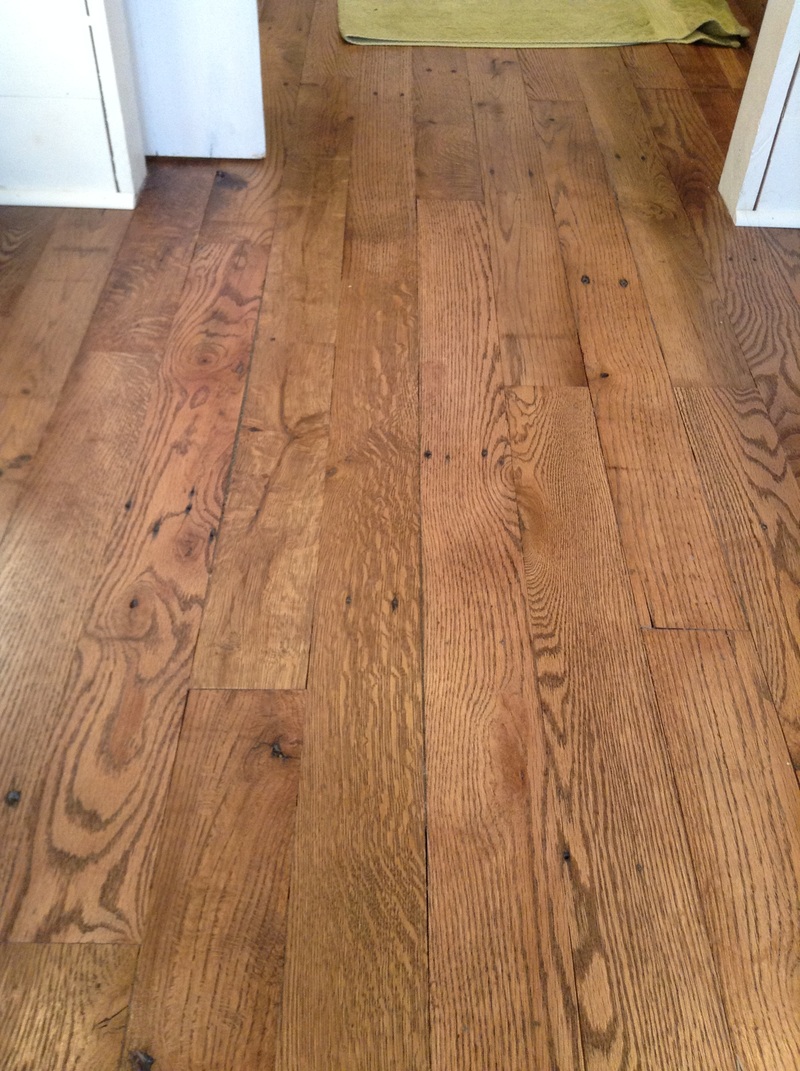
This is project I'm most excited about in my house. It's not perfect but it works for great for this type of space. If I had to do a larger space with this type of flooring I probably wouldn't because of all the holes and gaps in it. There are places where dirt and dust get stuck but because my house is so small and easy to clean I just vacuum them up about once every 2 weeks and it takes literally 1 minute.
This project was very labor intensive and sometimes hard, however I think it paid off. John was VERY kind to pull apart all the pallets I needed to complete this project so all I had to do was plane them, square the boards up, and lay down and finish the floors.
The first thing I did after I had all the boards was plane them down to a uniform thickness. This was easier said than done because the planer I was using was Delta hand crank just like this one:
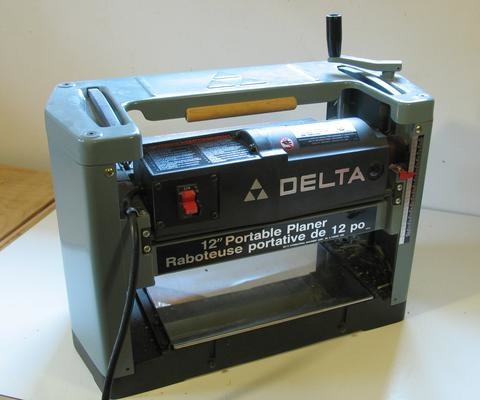
..and it's pretty much just eyeballing it until you think you've hit that 1/2" thickness perfectly. However once I laid down the floor all the boards were very close to being the same thickness and any high spots were evened out when I took the giant floor sander(I rented) to it. I also made sure to plane both sides so the bottom of the boards were level and the tops looked like new wood. Also worth noting is about 1/3 of the oak boards pulled off were either under 1/2" or not thick enough for me to be able to plane both sides and be usable, so if you want to do this project collect LOTS of extra oak boards.
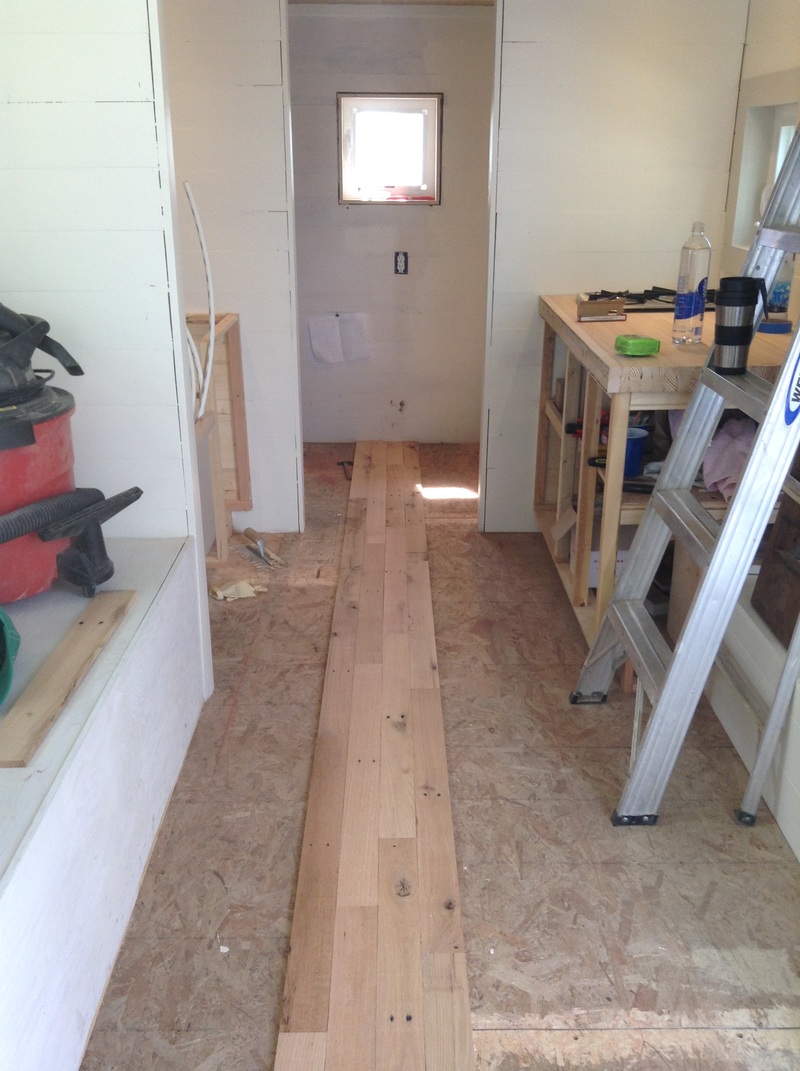
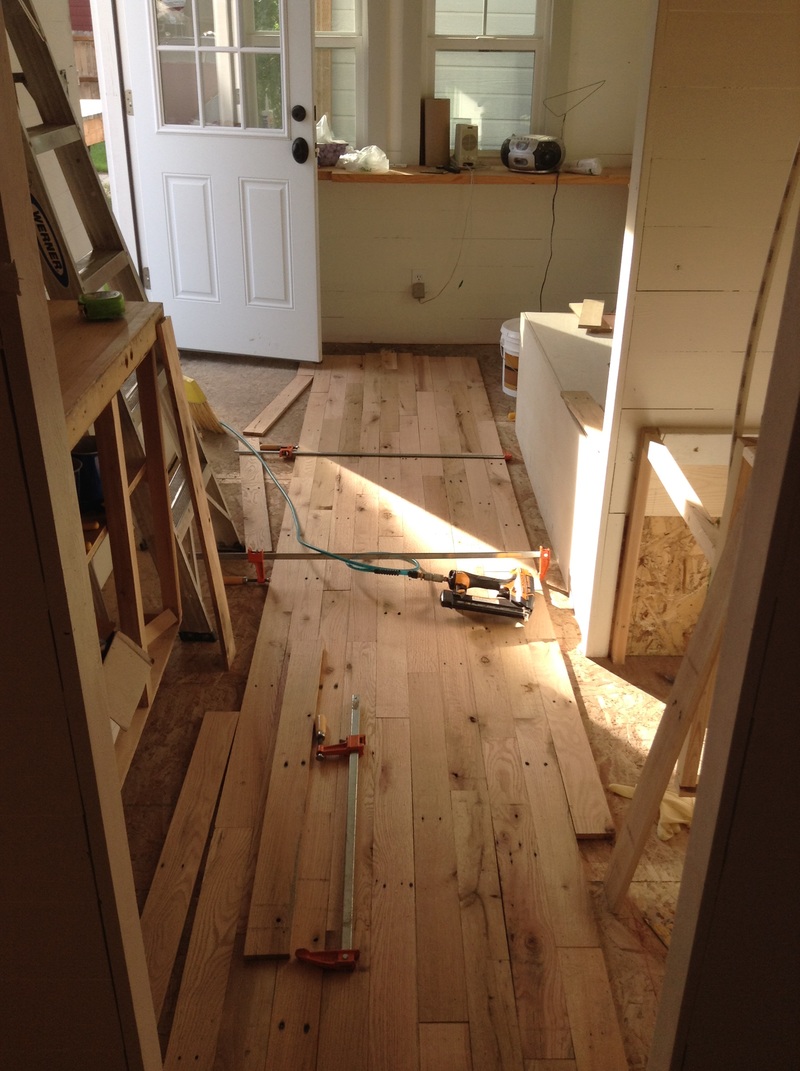
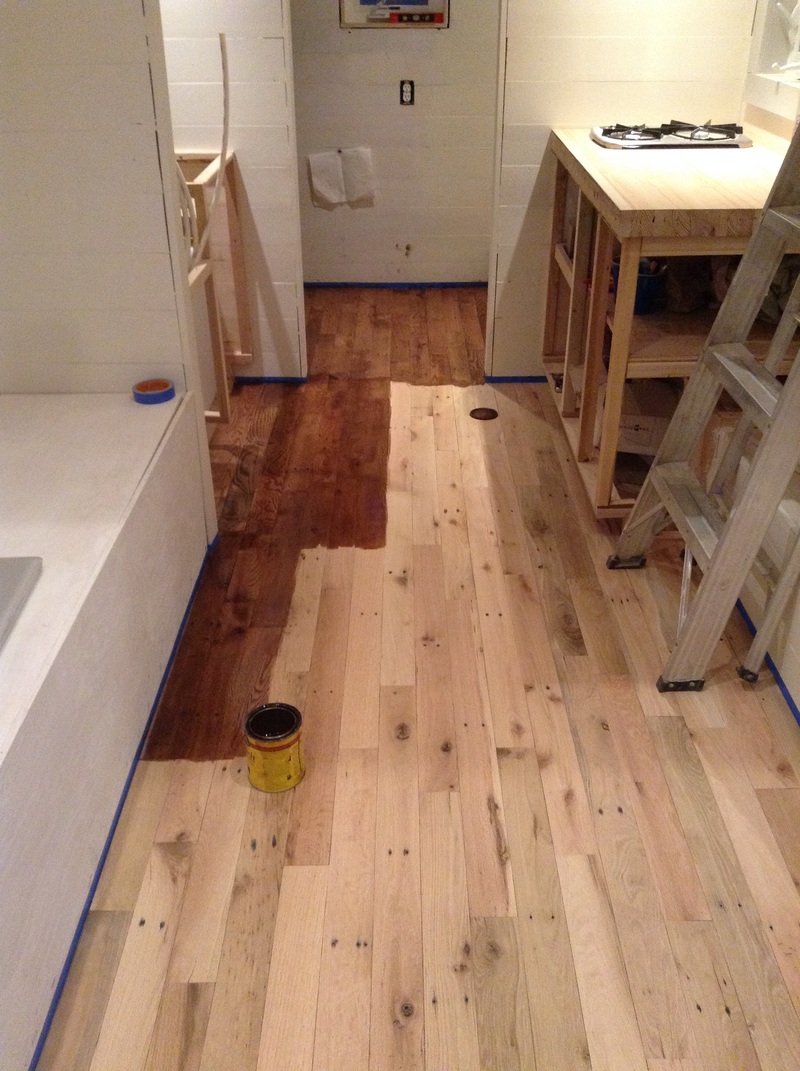
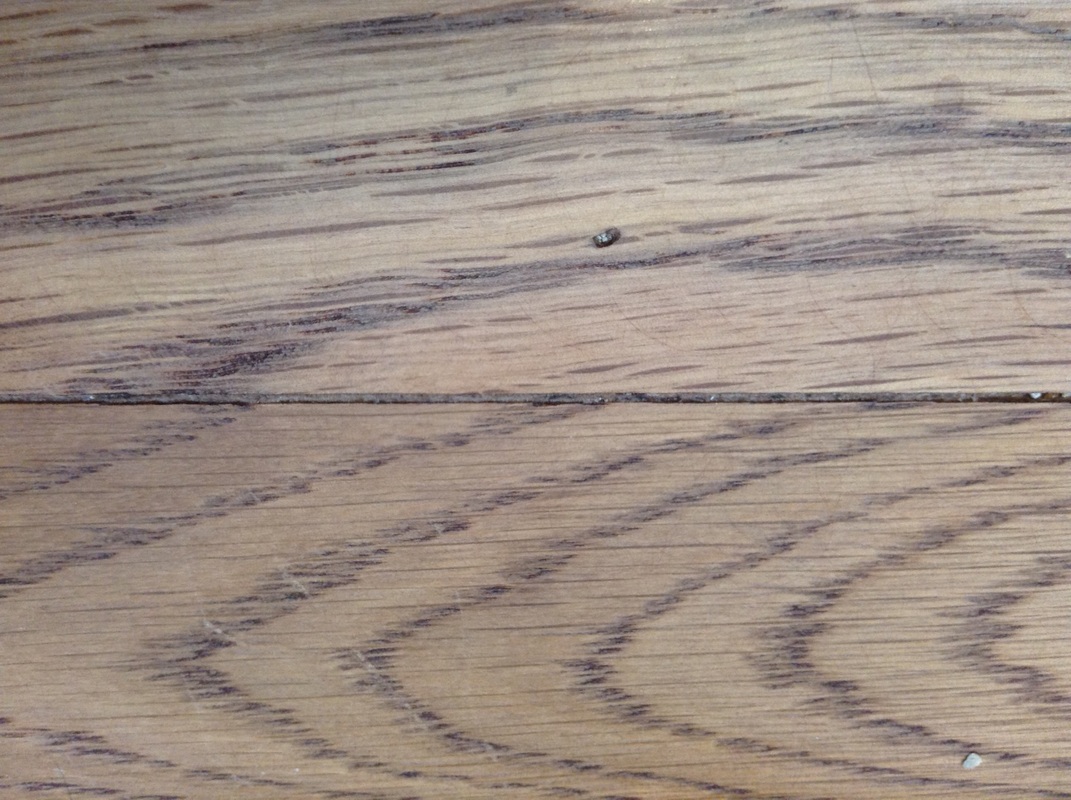
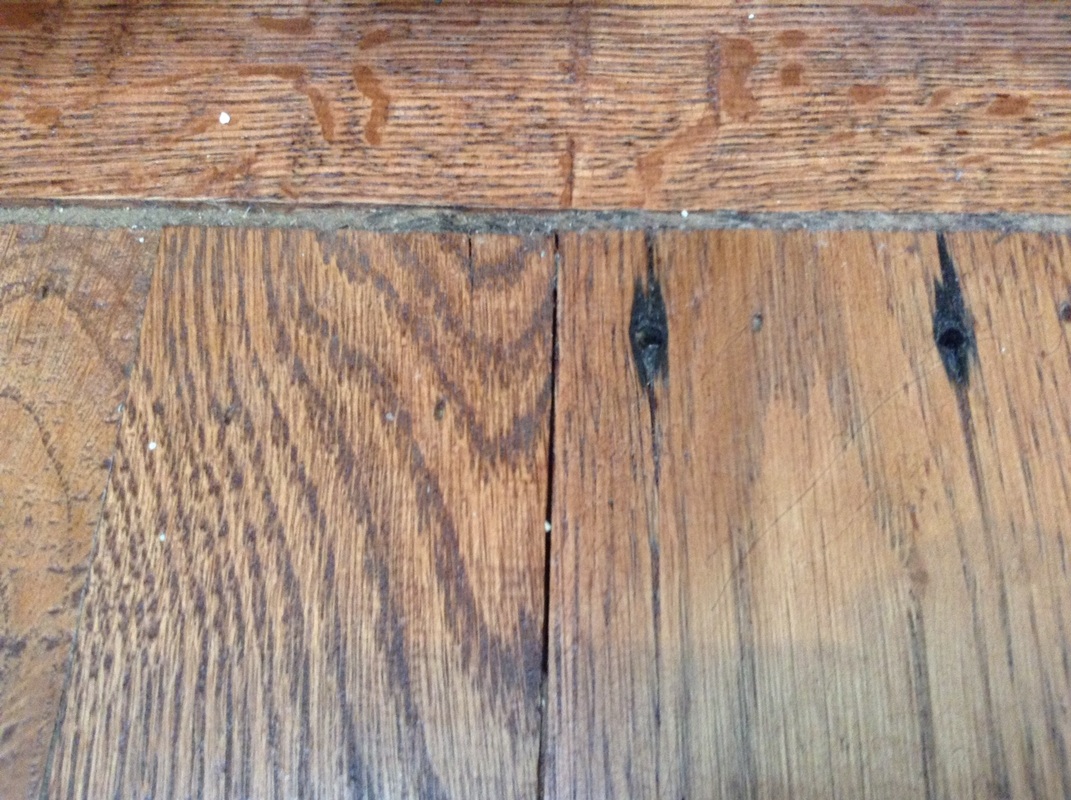
Usually when doing a large project the fastest and most efficient way to do it is the assembly line method. Let's say I had to dye 100 ribbons blue and tie them into bows, the fastest way would be to first dye all 100 and then tie all 100 as opposed to dying, then tying one ribbon at a time. This does not apply do doing a custom pallet wood floor. I squared up and cut each board before I glued and nailed it in place to make sure I had the least amount of waste and the best fit I possibly could. Then I used wood clamps to suck everything in to get an even tighter fit as one of the pictures above shows. Even doing all of this there were some gaps between boards that were unavoidable. After doing a lot of research I decided the best way to take care of them was to buy white cotton cooking string and dip it in the stain I was using on the floor. Then after the floors were sanded I took a putty knife and pushed the string down into the gaps. Then I stained again and put some polly on. The reason I spent hours pushing strings into crack instead of using wood filler was because it was impossible to find a wood filler that wouldn't crack eventually and that would match the floor perfectly or stain well. If I would have decided to keep my floors a more natural, unfinished color I probably could have used a regular filler, but using such a dark stain ruled that out. I could go on and do a whole post on just the decision to use string, but I'll stop now.
Usually when doing a large project the fastest and most efficient way to do it is the assembly line method. Let's say I had to dye 100 ribbons blue and tie them into bows, the fastest way would be to first dye all 100 and then tie all 100 as opposed to dying, then tying one ribbon at a time. This does not apply do doing a custom pallet wood floor. I squared up and cut each board before I glued and nailed it in place to make sure I had the least amount of waste and the best fit I possibly could. Then I used wood clamps to suck everything in to get an even tighter fit as one of the pictures above shows. Even doing all of this there were some gaps between boards that were unavoidable. After doing a lot of research I decided the best way to take care of them was to buy white cotton cooking string and dip it in the stain I was using on the floor. Then after the floors were sanded I took a putty knife and pushed the string down into the gaps. Then I stained again and put some polly on. The reason I spent hours pushing strings into crack instead of using wood filler was because it was impossible to find a wood filler that wouldn't crack eventually and that would match the floor perfectly or stain well. If I would have decided to keep my floors a more natural, unfinished color I probably could have used a regular filler, but using such a dark stain ruled that out. I could go on and do a whole post on just the decision to use string, but I'll stop now.
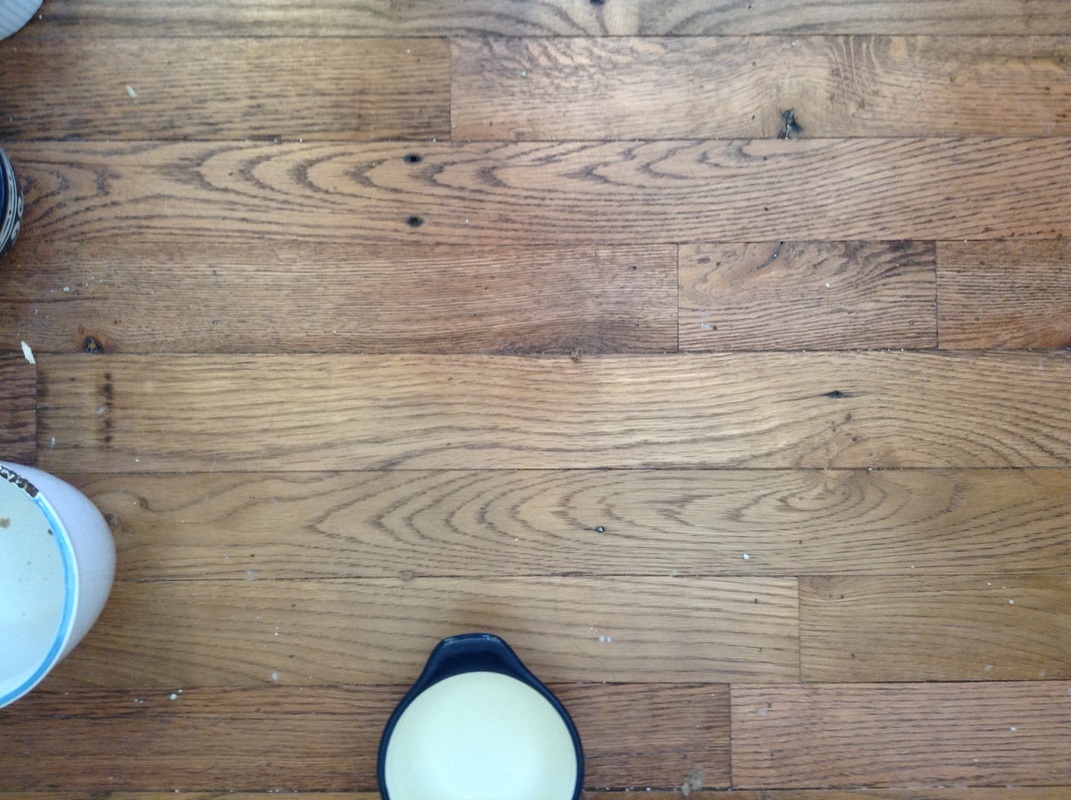

After living in my place for 6 months I am happy with how the floors held up. The wood is strong enough there hasn't been any scratches or dents. I did have a leak under my sink and didn't realize it for a day, which warped some boards. However they are hidden so it's no big deal. Now I know I just have to be careful with them getting too wet.
 RSS Feed
